Showing posts with label rice. Show all posts

Monday, April 15, 2013

Pesto Change-O


This post has been a long time coming-- meaning that it's food I cooked quite some time ago but procrastinated on writing about, because life is what happens when you're busy jamming giant cookie wedges into your mouth with your friends, readying for finals, getting spring air for the first time in long time, and oh yes, not blogging.

This, however, is what happens when you get my friend & fellow foodie, Jon and I in a kitchen together. Jon is as passionate about "food culture" as I am, so when I heard that he'd only had risotto once and that it had been BAD risotto, I was scandalized. Shocked. Appalled. Other synonyms for mortified. I knew I had to fix it as soon as possible. So two Fridays ago, we made a culinary tag team and cooked dinner for he, Rebekah and I.

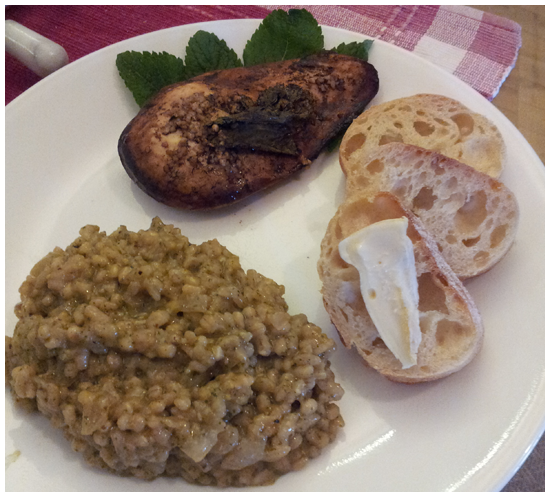
We ended up with a delicious meal: Honey Balsamic Oven Baked Chicken with Fresh Mint, (Homemade) Pesto Risotto, and a baguette with Champfleury cheese. If you aren't drooling all over your keyboard right now I suggest you read that again-- maybe in Morgan Freeman's voice, or else, get your head checked. You should totally click on the link above and check out the chicken recipe on Jon's blog. It was beyond belief tender and tasty. As. Hell.

So while we drank wine and talked about the dishes we inherited from our grandmothers, I took to making this recipe up from scratch. The best thing about risotto is that once you overcome your fear and master the basics, you can improvise it and make it with almost whatever you want. I made this based on what Jon had kicking around in his fridge and pantry. It was totally worth carrying a big jar of vegetable stock around with me in my knapsack at school that day. #FoodieProblems

Freestyle Pesto Risotto

Serves 4
Ingredients

4 cups vegetable stock
1 white cooking onion, chopped
3 cloves of garlic, minced
1 tbsp olive oil

1/2 cup white wine
1/2 cup arborio rice
1/2 cup pearled barley*
Basil Pesto, to taste
Parmesan cheese
Salt & Pepper

1. On the stove, get a small saucepan, size enough to hold all of the stock, and put it over low heat. First rule of risotto: do not add cold liquid to the risotto. You may have to put your wine in the microwave to ensure this but-- I am Jack's lack of shame. Cold liquid will "shock" the rice and you will not be able to get that famous, creamy texture you want. So, the second rule of risotto is do NOT add cold liquid to the risotto.

In a medium-large saucepan, add the oil, onions and garlic. Sautée until slightly browned.
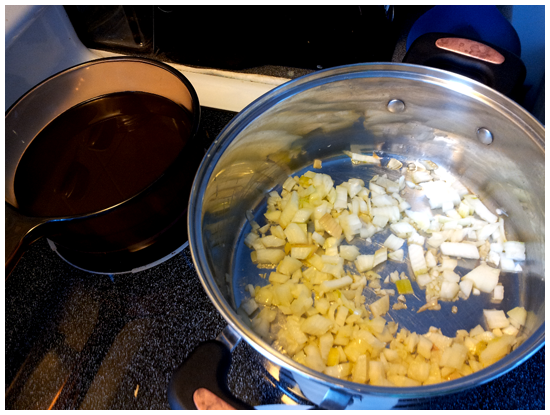
2. When the onions are soft, add the barley and the rice. Stir until coated, and cook until slightly translucent, about one minute.
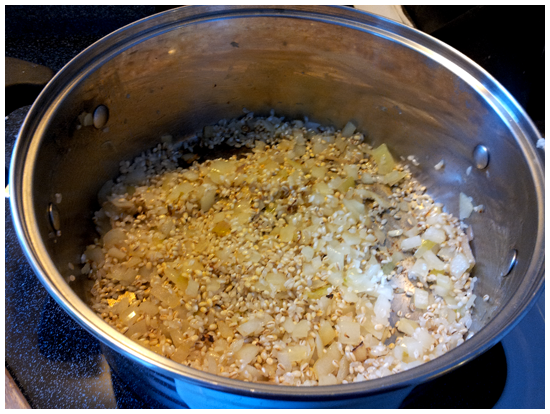
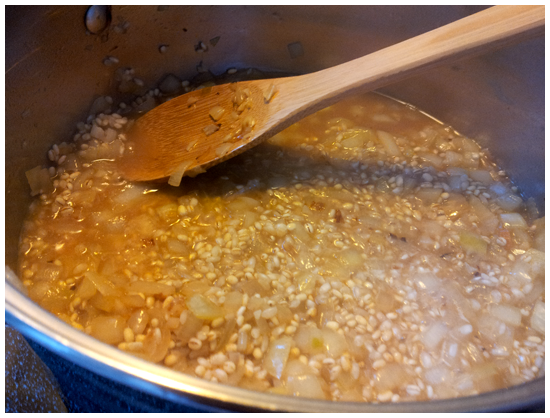
3. Now you can start adding liquids! This is the longest, most time consuming part of cooking risotto: you're going to have to babysit it for a good 30 minutes, stirring it constantly to coax the rice into a good mood. I kickstart rice into a good mood the way I myself get into a good mood: add that (warmed) white wine. Stir until it's absorbed, then add the stock, 1 cup at a time, stirring constantly.

4. Add more stock as the rice absorbs each cup. Third rule of risotto: stir stir stir. In the meantime, open that jar of pesto. Or better yet, have your kitchen bro make it fresh for you while you're working. (Check out Jon's recipe for fresh pesto here!)
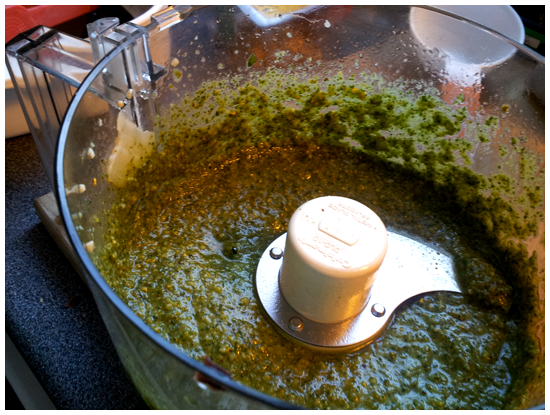
5. When you're almost fresh out of stock (the last cup or so) add the pesto and grated parm! As much or as little as you like. I would say I probably made use of a good 1/4-1/2 cup, but it's hard to be sure. Start with a little, then add more if you want it. Stir it in, to let it combine with the other flavours. Taste, season with salt, pepper and more parm if you want. (Let us face it: of COURSE you want more.) 
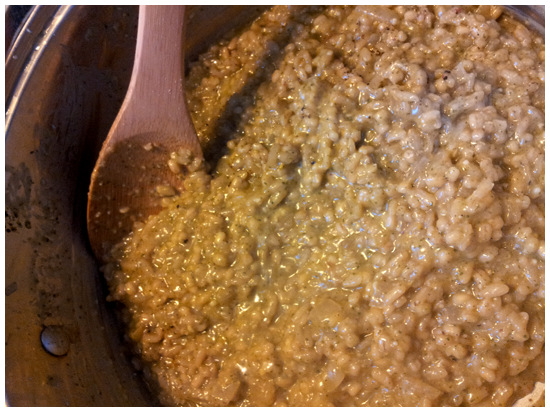
Risotto works as a main or a side dish really nicely. This one might not be pretty, but it was unbelievably good.

Notes
* It's possible to use an entire cup of arborio rice for this recipe instead of half arborio, half barley. I just like the variance in texture, so I mix it up a little. It adds a bite that isn't present otherwise. I know this because Tyler knows this. 

Friday, March 8, 2013

Rock That Stock!

Bite Club rule #2: Never pay for something from a store when you can make it for less at home with ease and a little prep.

Like nearly every other student on the planet, I'm on a budget. I try to make money wise choices when I'm at the grocery store, so that I can make bad money (and health) choices after a night out. (3AM poutine, anyone?) I like to do little things to save money, like bringing my AM coffee fix in a travel mug from home, cutting up my own veggies instead of buying them pre-chopped and well... I keep a close eye on my stocks. The yummy kind, not the Wall Street variety. 

Stocks are awesome, because they're so versatile. They come in chicken, veggie, beef and even seafood varieties, and they go into just as many, if not more dishes. Stews, soups, chilis, rice pilaf, rice, risotto, cous cous-- any savoury application that water does, stock can do better. A box of it from the grocery store is a few bucks, and sure, that's not a lot up front, but it's more than making your own for (close to) free. Intrigued? Read on, friends.

I've been doing this for a few months now. It's stupidly easy and a  great way to make use of something you would just throw out otherwise: scraps of vegetables headed straight for the compost bin. A lot of people buy veg specifically to chop them up and throw it into the stock, but since that seems counter productive to not spending money, I started saving the misfits and scraps, freezing them and then then using those instead. At any given time, there's usually a giant ziploc in my freezer filled with onion stubs, broccoli stems, carrot tops and beet bottoms, just waiting to be boiled down. (Am I the only one who chuckled at 'beet bottoms'?)

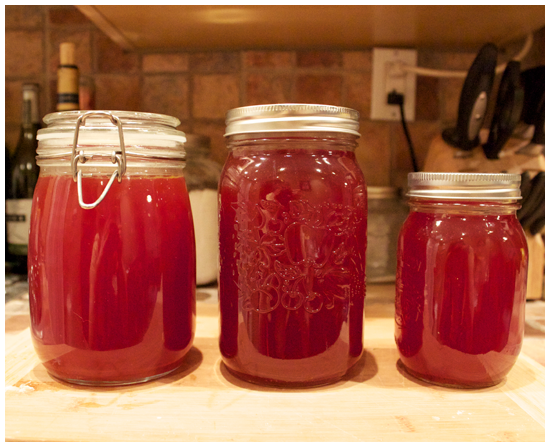
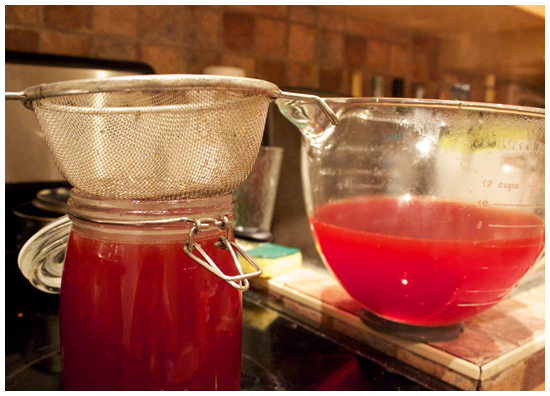
This method produces a different stock every time, which I like, because I live on the edge. Lately, because beets are in season, I've been using a lot of those, which seem to be lending my stocks this warm ruby hue. Gorgeous, dahling. Let's get to it.

Basic Vegetable Stock

Makes about 10-12 cups stock


Ingredients

1 large ziploc full of vegetable trimmings
Water
Salt, to taste
Dried Herbs, if desired

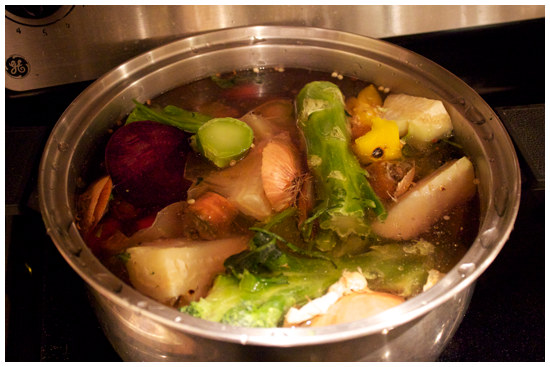
1. Take a large soup pot and pour the vegetables into it. Place it on a burner, turned to high.

2. When the veggies begin to sizzle, add enough water until they're all covered. Add in any of the dried herbs right now, if that's what you're into. I've used rosemary and thyme on different occasions and they both worked it, HARD. Now if you like it, put a lid on it. (And if you don't put a lid on it, anyway.)

3. When the water begins to boil, remove the lid, reduce the heat to medium and simmer for 45 minutes - 1 hour. Don't stir it. Seriously, leave it alone. Go off and live your life. Sing in the shower, watch Friends reruns. Stalk your ex on Facebook while you stock your cooking repertoire with this recipe.

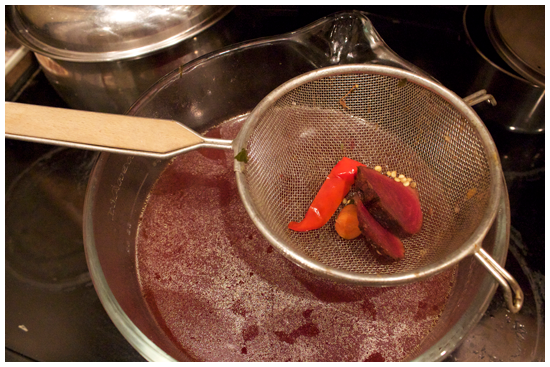
4. When time is up, turn the heat off. Strain the mixture once through a sieve, out of the stock pot, into the fi--err... something easier to pour with. I used the bowl of my stand mixer!

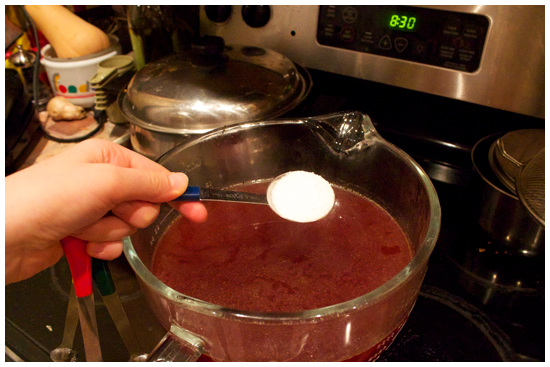
5. Add salt, to taste. I added about a tablespoon. This step is technically optional, as I know some cooks who salt the dish and not the stock, but in the name of seasoning the seasonings... To the salt!

  
6. Strain a second time a second time into jars, and store in the fridge until you have need of it! See? Easypants.


Voila! Stock will keep for about a week. Keep your eyes on the prize, I'll be posting a recipe for you to use your lovely vegetable stock as soon as I can! Happy Friday, kids!