Showing posts with label basic. Show all posts

Friday, March 22, 2013

Holy Crepe!

I woke up on the stupid side of the bed yesterday, the one where you get mad for no reason at the smallest stuff. The customer at work who asked for no foam on their latte (without saying please, wtf, lady), the fact that the metro was so crowded, the old woman moving at a glacial pace who  got stuck behind on the walk home, were all things that normally wouldn't phase me, but yesterday, they did. I know that when it gets to I point where I'm annoyed at old ladies for being old ladies, that I need to do two things: check myself, take a minute or two to collect why I'm freaking out over nothing-- and also, cook. Cooking makes me feel better about all the things, all the time. The sense of accomplishment, reward, and harmony in the kitchen is nearly perpetual.

I concluded a few things: I'm in the middle of post-stress stress- I handed in a paper worth 25% of my mark yesterday, and while I'm happy to have it out of my hands, I got all worked up writing it and now I'm left gun shy over waiting for the mark. I'm sick of winter-- Montréal got buried underneath about a foot of snow this week, on the first day of Spring, just when I thought we were turning a corner. I'm also homesick. I'm heading home next week for the Easter long weekend, and the fact that I know I'm GOING at all is making me chomp at the bit to get there, to see my family and friends. And all of these things brought me to... crepes.

Crepes always remind me of my Babcia, because the only time I ate them as a kid was when we went to visit her in Tinyboringtown, Ontario. Warm homey feelings of nostalgia, plus pride in using her recipe just snugs me right in the 'feelgoods.' From my Russian grandmother, to my mother to me, to you, friends: these crepes are great because you can eat them sweet or savoury, and they're simple. Anything that's simply good in my books is GREAT. I dressed mine up for dinner with caramelized onions, sauteed mushrooms, broccoli florets and cheddar cheese. DELICIOUS. You'll see.

A few things to note: this recipe is an exercise in patience and practice, if at first you don't succeed, try, try again and eat the mistakes because damnit, they will be delicious anyway. Two things are key: butter and timing. I tried to make these awhile back, and I greased the pan with olive oil which didn't work so well. A well buttered pan is your weapon of choice here. Also, I know crepes are thin, tiny pancakes so you think they need nanoseconds to cook, but DON'T flip them until the edges are browning! Just like real pancakes or teenagers, they will come away from the pan easily when they're ready to be flipped. Don't pressure them!

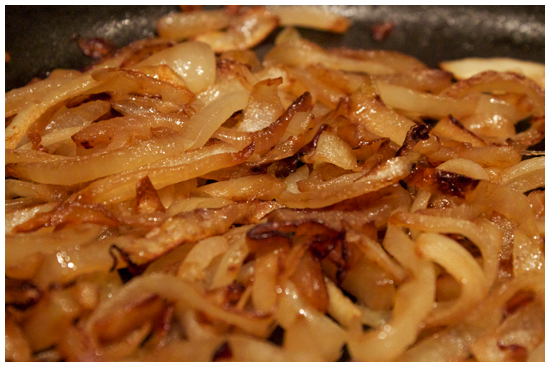
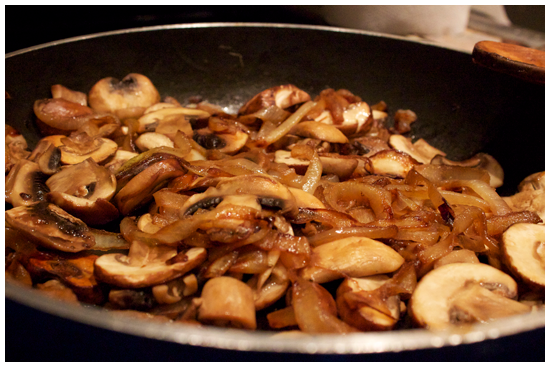
Caramelized Onions
Ingredients

2 cooking onions, chopped into strips
1 tbsp butter
salt

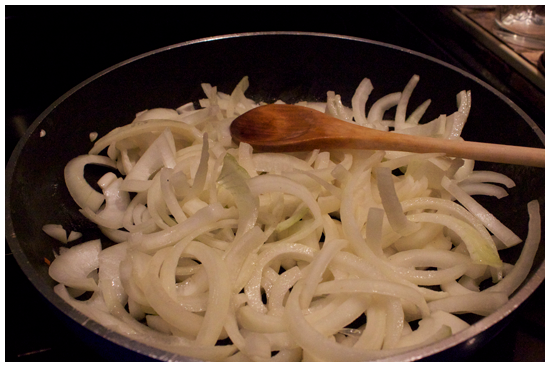
1. Melt butter in a large frying pan, then add the chopped onions.
2. Cook them on medium-low heat. Stir them once in awhile but let them do their own thing, for 30-45 minutes until they're a dark, caramel brown. (I added in the sliced mushrooms just before the onions were done and sauteed them all in the same pan, because multiple dishes are for suckers.) Salt the onions to your taste!

Basic Crepe Recipe

Makes about large 6-8 crepes.
Ingredients

1/2 cup all purpose flour
2 eggs
1 cup milk
1/4 tsp baking powder

1. Whisk together all of the ingredients. Refrigerate for at least an hour. (I try and make my batter 24 hours in advance, then let it sit in the fridge. The batter needs to rest to make good crepes!)

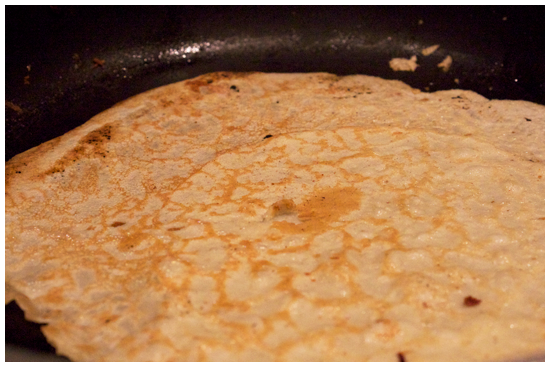
2. Butter a large frying pan and keep it over medium-low heat. I found the best way to pour the batter into the hot pan was to make a circle around the edge of the pan with the batter, then to tilt it until it spread to cover the entire bottom.
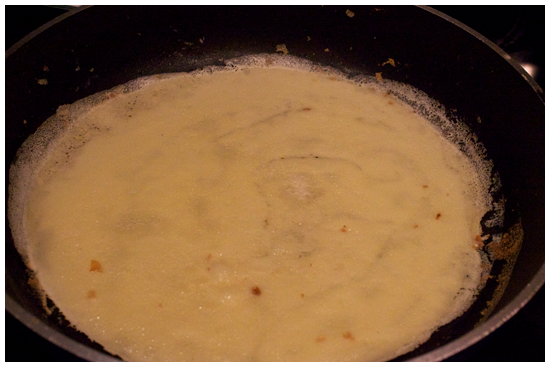
3. When the top of the crepe is no longer shiny and the edges are brown, slide a spatula beneath it, gently easing it away from the pan. Flip that motha', and the other side will cook for about 30 seconds..
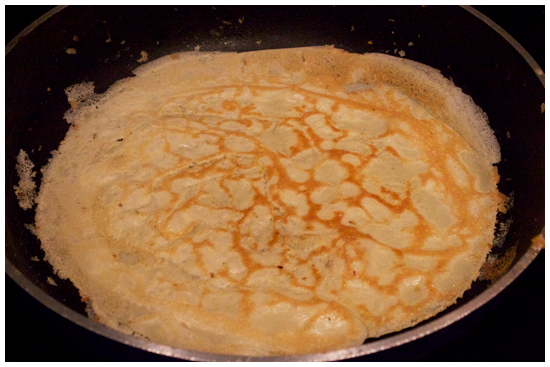
.
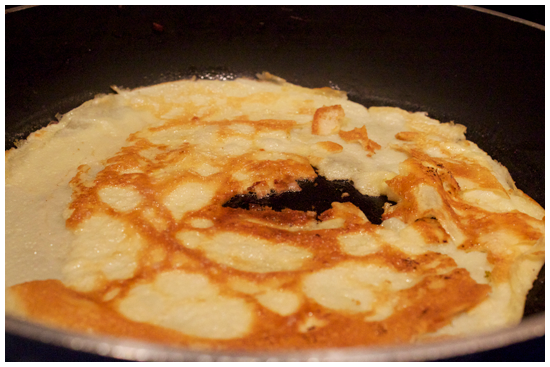
This takes some practice, as you can see from the picture below this caption, sometimes crap happens when you're cooking crepe, and it will create a frustrated sensation in your cranium, but trust, you can do it! I did, and I did a happy dance when I finally achieved my dream of carby perfection. I am being literal about that dancing thing, too.
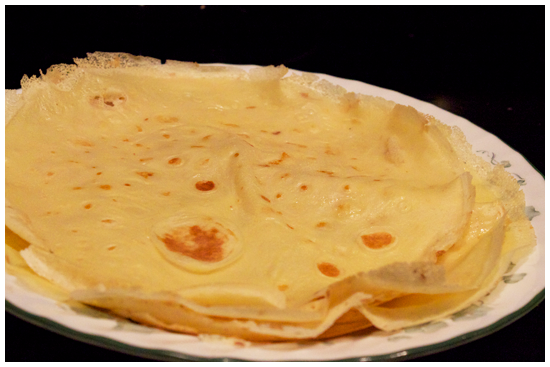
4. Now you have a tasty pile of crepes to do whatever you please with. As I said, these would be great with maple syrup,  or slathered with Nutella and crammed full of raspberries, but, as this post will demonstrate, this is a dinnertime food, too.
5. I sprinkled a handful of shredded old cheddar, broccoli and the caramelized onions and mushrooms mixtures on one crepe....
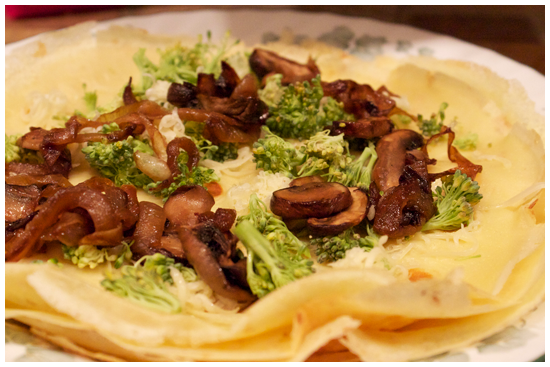
...Rolled it up, and put it back in the frying pan to melt the cheese.
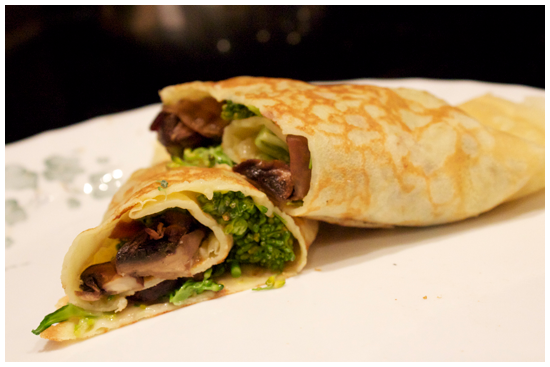
Then I ate it so fast, I barely had time to snap pictures of it, let alone garnish the plate, let alone ANYTHING. 

Wednesday, March 13, 2013

Dough, Yo

I didn't realize how important this recipe was to me until one Friday night a few weeks ago when I was having drinks at a stranger's house. (By stranger, I mean a friend of a friend who I was meeting for the first time, and not a balding dude in an unmarked van-- CALM DOWN MOM.) After a few rum and cokes, we decided what many people getting downright drinksy decide-- we were HUNGRY and we wanted PIZZA.

The three of us being accomplished cooks, agreed that delivery is for suckers and decided to make our pie from scratch. Well-- it was at this point that I volunteered to make the dough, and found myself in the kitchen with the task of whipping it together. To my own surprise, I knew it how to do it from memory. I guess I've made enough pizzas with it and now it's in my brain, and maybe even engraved on the walls of my heart. After all, pizza is my most favourite of foods. (Or one of them... Don't make me choose, please.)

It's probably because every week, the roommate and I declare Tuesday as "pizza night", throw together this recipe, add whatever we have in the fridge by way of toppings, and devour the goodness while watching New Girl. It's our miniature kick off to the rest of the week.
What's that? You still think pizza from scratch is a pain in the asiago? Well then:  I swear to you, this recipe requires very little kneading, making dough at home is probably better for your health (blah blah blah), AND you get to be the smug guy who has enough kitchen skillz to make their own pizza dough at parties. Are we down? Good. Let's get cookin', yo!

How much do I love pizza Tuesdays with Jess and the gang?
Yep, that about hit the nail on the head right there.

Basic Pizza Dough

Makes 1 cookie sheet sized pizza.


Ingredients

1 cup warm water
1 packet instant yeast (2 1/4 tsp)
1 generous pinch sugar

1 tsp salt
2 tbsp olive oil
2 1/2 cups flour* (plus more for kneading, dusting and dough's sticky shenanigans)
cornmeal

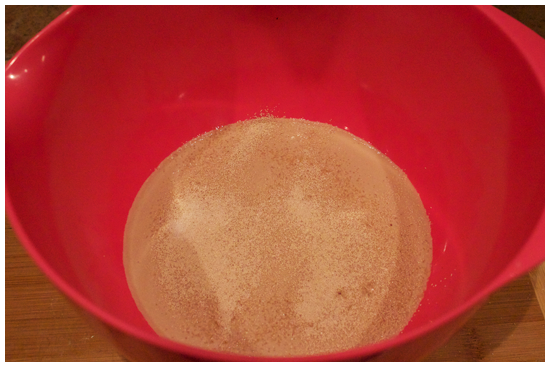
1. Pour warm water, yeast and pinch of sugar into a mixing bowl. Whisk.


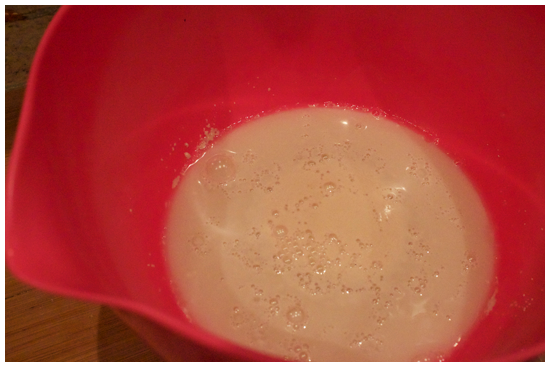
2. When the mixture gets bubbly (about 5 minutes), add the oil, salt and 1 1/2 cups of flour.


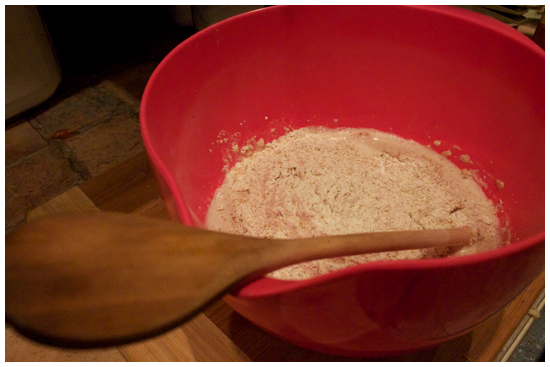
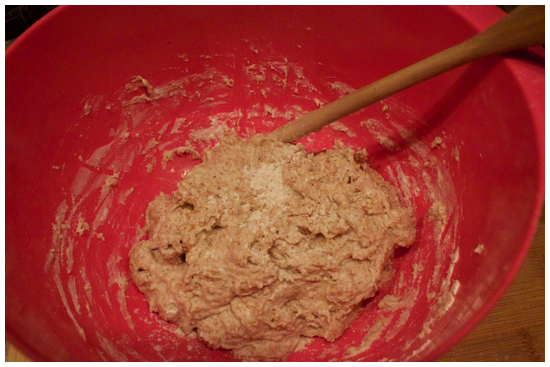
3. I find it's best to start out mixing the dough with the handle of a wooden spoon because it's sticky as hell and easier than clawing raw dough from beneath your fingernails, scraping it off your palms, and having a general breakdown over WHY, WHY DO THE PIZZA GODS HATE ME? Bro, chill and trust the spoon.


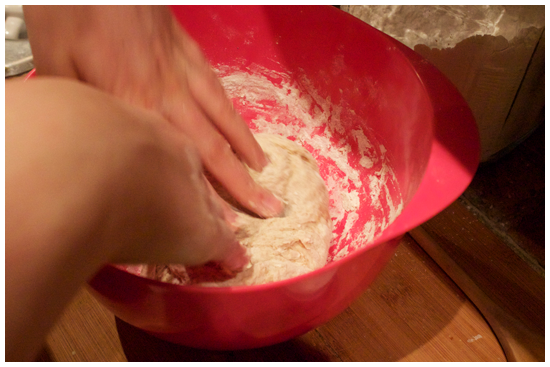
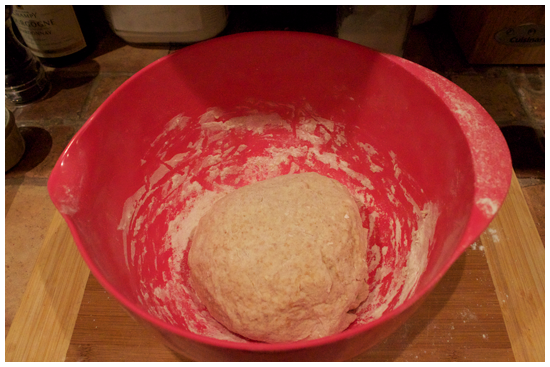
4. Now, the time of knead. Adding the remaining flour, fold and knead it into the dough with your fingers, your knuckles and your British Bulldog determination. You should have have a neat, round ball to work with at the end of it all. Set aside for 10 minutes, minimum, to rise.

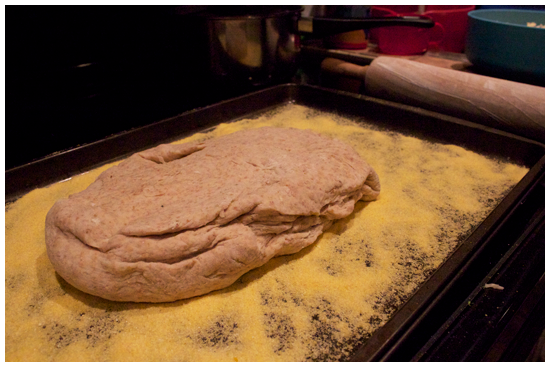
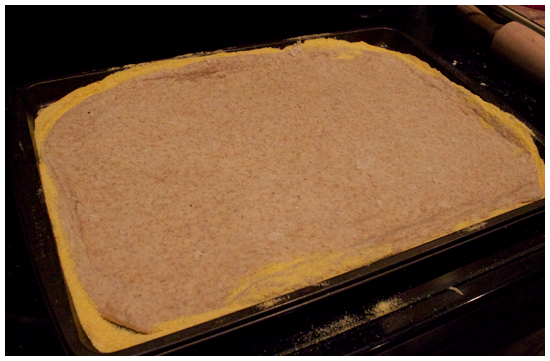
5. In the meantime, grab a cookie sheet and sprinkle it with cornmeal. Don't be shy, in fact, be downright liberal, because you don't want the pizza sticking to the pan. If you're baking the dough now, preheat the oven to 400 degrees. If not, wrap it in cellophane and freeze it for later use. (But seriously, you know you want pizza right now so bake it RIGHT NOW.)


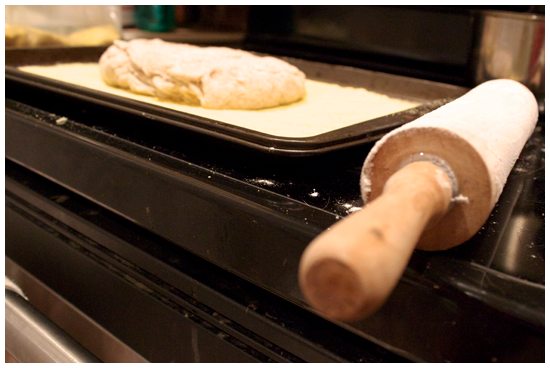
6. Roll out the dough on the cookie sheet to the edges,  gently flouring the top if it is sticking to the rolling pin.


7. Now is the time to make art with your freshly primed canvas. Top with desired toppings (sauces and cheeses and meats, oh my) and bake for 30 minutes. Allow 10 minutes to cool, and then get cray with the eating and everything!

Note
*You can use many different combinations of flour with this recipe. I've tried a combination of whole wheat flour & all-purpose flour (about 1 1/2 cups & 1 cup, respectively) as well as one made from only all-purpose flour. Don't be afraid to experiment, and if you come up with some brand new genius combination, leave me a comment, a tweet or an email and tell me about it! I'd love to hear from you! I know this, because Tyler knows this.

Friday, March 8, 2013

Rock That Stock!

Bite Club rule #2: Never pay for something from a store when you can make it for less at home with ease and a little prep.

Like nearly every other student on the planet, I'm on a budget. I try to make money wise choices when I'm at the grocery store, so that I can make bad money (and health) choices after a night out. (3AM poutine, anyone?) I like to do little things to save money, like bringing my AM coffee fix in a travel mug from home, cutting up my own veggies instead of buying them pre-chopped and well... I keep a close eye on my stocks. The yummy kind, not the Wall Street variety. 

Stocks are awesome, because they're so versatile. They come in chicken, veggie, beef and even seafood varieties, and they go into just as many, if not more dishes. Stews, soups, chilis, rice pilaf, rice, risotto, cous cous-- any savoury application that water does, stock can do better. A box of it from the grocery store is a few bucks, and sure, that's not a lot up front, but it's more than making your own for (close to) free. Intrigued? Read on, friends.

I've been doing this for a few months now. It's stupidly easy and a  great way to make use of something you would just throw out otherwise: scraps of vegetables headed straight for the compost bin. A lot of people buy veg specifically to chop them up and throw it into the stock, but since that seems counter productive to not spending money, I started saving the misfits and scraps, freezing them and then then using those instead. At any given time, there's usually a giant ziploc in my freezer filled with onion stubs, broccoli stems, carrot tops and beet bottoms, just waiting to be boiled down. (Am I the only one who chuckled at 'beet bottoms'?)

This method produces a different stock every time, which I like, because I live on the edge. Lately, because beets are in season, I've been using a lot of those, which seem to be lending my stocks this warm ruby hue. Gorgeous, dahling. Let's get to it.

Basic Vegetable Stock

Makes about 10-12 cups stock


Ingredients

1 large ziploc full of vegetable trimmings
Water
Salt, to taste
Dried Herbs, if desired

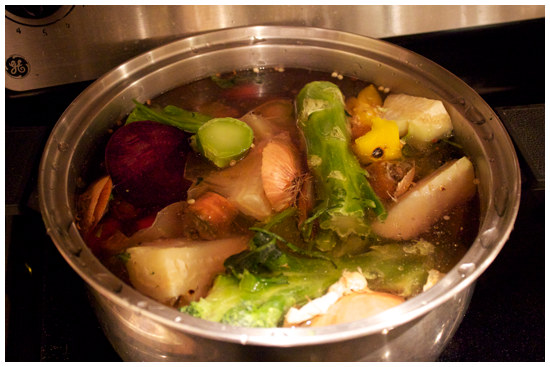
1. Take a large soup pot and pour the vegetables into it. Place it on a burner, turned to high.

2. When the veggies begin to sizzle, add enough water until they're all covered. Add in any of the dried herbs right now, if that's what you're into. I've used rosemary and thyme on different occasions and they both worked it, HARD. Now if you like it, put a lid on it. (And if you don't put a lid on it, anyway.)

3. When the water begins to boil, remove the lid, reduce the heat to medium and simmer for 45 minutes - 1 hour. Don't stir it. Seriously, leave it alone. Go off and live your life. Sing in the shower, watch Friends reruns. Stalk your ex on Facebook while you stock your cooking repertoire with this recipe.

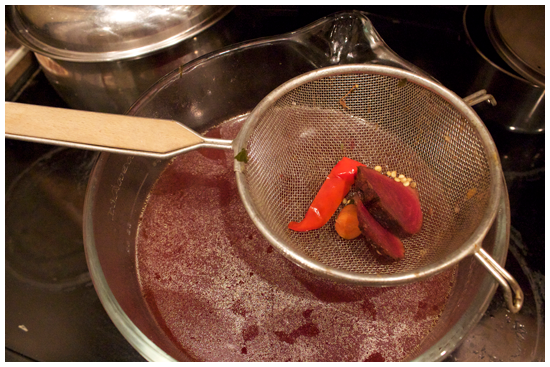
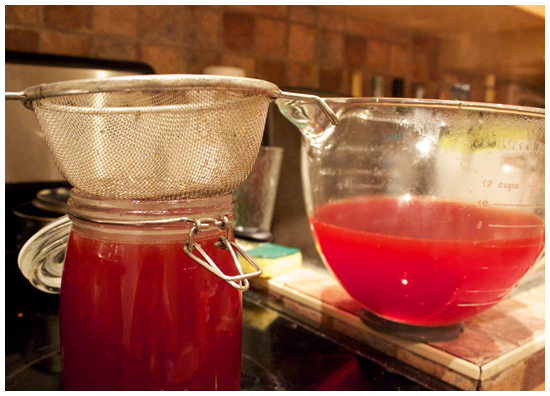
4. When time is up, turn the heat off. Strain the mixture once through a sieve, out of the stock pot, into the fi--err... something easier to pour with. I used the bowl of my stand mixer!

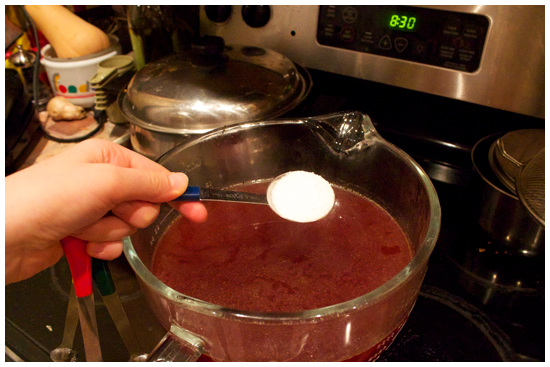
5. Add salt, to taste. I added about a tablespoon. This step is technically optional, as I know some cooks who salt the dish and not the stock, but in the name of seasoning the seasonings... To the salt!

  
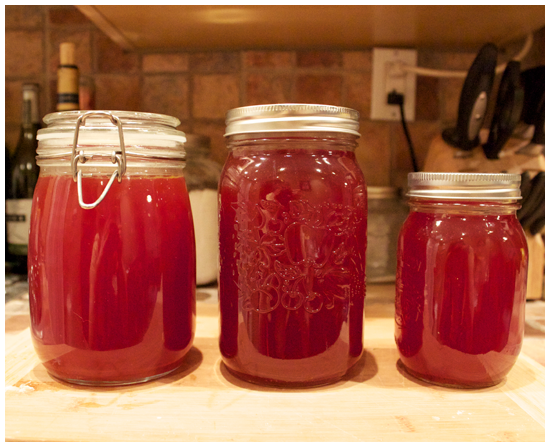
6. Strain a second time a second time into jars, and store in the fridge until you have need of it! See? Easypants.


Voila! Stock will keep for about a week. Keep your eyes on the prize, I'll be posting a recipe for you to use your lovely vegetable stock as soon as I can! Happy Friday, kids!