
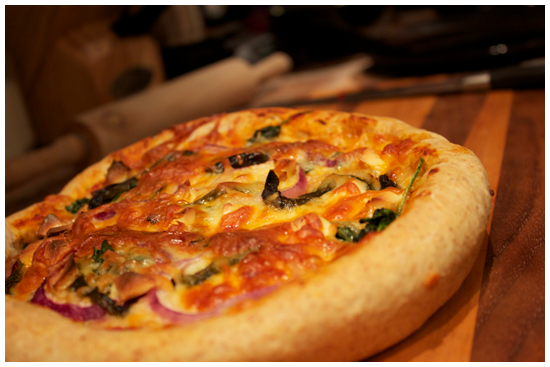
Cast iron pans are "seasoned" over time. This involves coating them with a thin layer of fat or oil, then baking them at a low temperature for an hour, as often as you like. When the iron of the pan heats up, it expands and takes on some of the fatty molecules. The longer you go without really washing them, the deeper the seasoning, the better the nonstick surface. I strongly feel as though this is kitchen magic, the kind that runs from generation to generation. Some people have had them in their families for literally years and years. They're that durable, and compared to other cookware, they're not expensive. Anyway-- Macheesmo has a great post-- 10 Reasons You Need a Cast Iron Skillet to back up my argument here. And if you don't want to read a top ten, you can feast your eyes on last night's dinner and be convinced much faster.
Riddle: What do you get when you combine a cast iron skillet & my whole wheat dough recipe?
Answer: Pizza, and this time, it's personal. One for me, one for Rebekah, my friend and roommate, and glorious toppings for all! This is more of a technique than a recipe, but keep up with me now.
Answer: Pizza, and this time, it's personal. One for me, one for Rebekah, my friend and roommate, and glorious toppings for all! This is more of a technique than a recipe, but keep up with me now.
Personal Cast Iron Pizzas
Makes 2 personal pizzas.
Ingredients
1 recipe, Bite Club's pizza dough, or any pizza dough...
Tomato sauce
Cheese
Toppings (your choice!)
Toppings (your choice!)
Required: Cast Iron Skillet
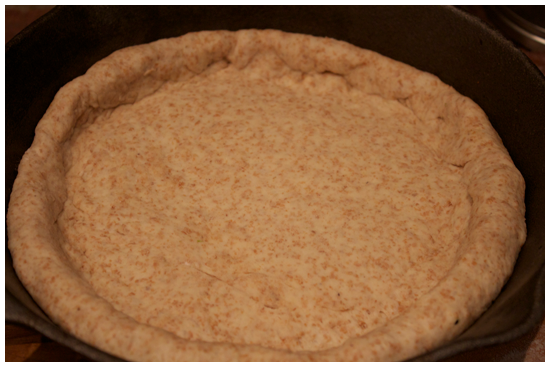
1. Make the dough as instructed. Divide the recipe in two equal portions. (My skillet is on the small side, which makes it perfect for personal pizzas!) Rolling out the dough into a circle just larger than your skillet. Roll the edge of the crust inward, gently tucking it in with your fingers to make the deep dish style crust. Preheat the oven to 400 degrees.
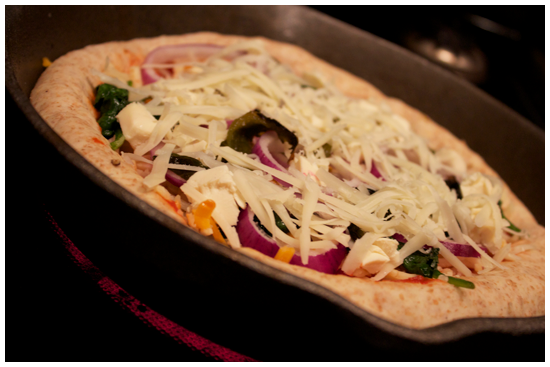
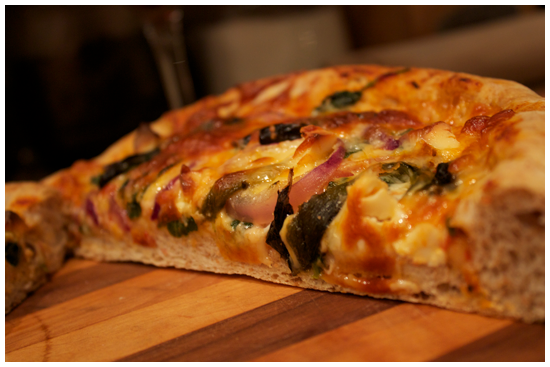
2. Add your toppings. I used tomato sauce, three cheeses: mozzarella, cream cheese, spicy habanero cheddar, roasted jalapeños, red onions and baby spinach. (Yes, feel free to OMG with me.)
3. To get the same effect on your crust as a pizza stone, before you put your masterpiece in the oven, put your skillet on the stovetop burner on high for 3-5 minutes. Then put it in the oven.
4. Bake for 20-30 minutes, depending your preferred tan of the crust. Are you a summer whisper or Jersey Shore? (Contrary to popular belief, I promise not to judge you if you find yourself saying, "I like my pizza Jersey Shore tan. GTL not included.)
5. When you're done, remove the pizza from the oven. It will be artful, it will smell delicious and unlike everyone on reality TV, cheesy in a great way. The best way possible. Note: Be careful when you remove the pan! Iron remains hot long after you it remove from the oven.
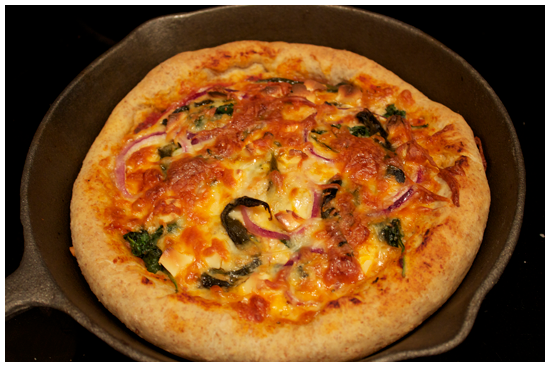
6. The pizza should slide right from the pan onto your handy cutting board with little difficulty. Let it cool for ten minutes, then slice and serve! This crust: golden and crunchy on the bottom, but fluffy inside, the middle like a chewy, perfect carb-alicious cloud.
As they say: YEAH. BUDDY. I wish I had taken a reaction video of the two of us biting into our individual pizza pies, because time stopped. Seriously, we spent the rest of dinner laughing with disbelief between bites at how good it was. What would you put on your perfect personal pizza?
No comments:
Post a Comment